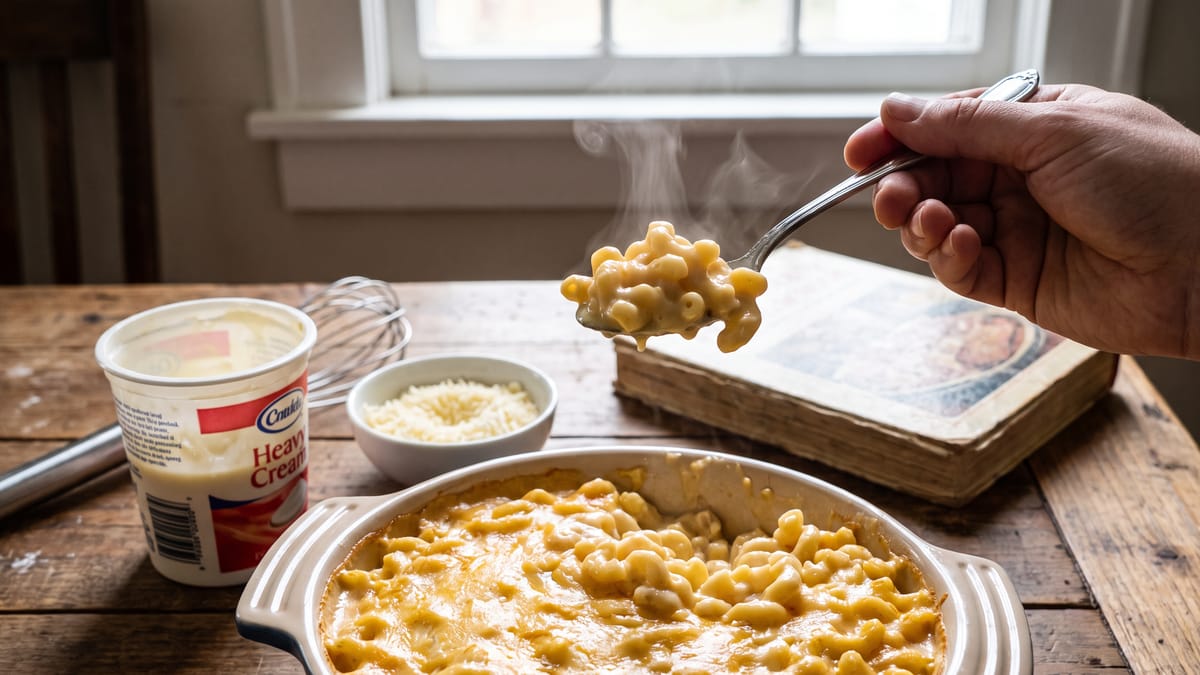
The Secret to Creamy Mac and Cheese That Doesn’t Turn Dry or Grainy
The Secret to Creamy Mac and Cheese That Doesn’t Turn Dry or Grainy
Ah, mac and cheese. It is a dish that evokes a symphony of comfort, a culinary hug in a bowl, and a nostalgic trip down memory lane for so many of us. Whether it is the star of a weeknight dinner, a cherished holiday side, or the ultimate indulgence after a long day, its appeal is universal. Yet, how often have we embarked on this cheesy quest, only to be met with disappointment? The promise of a velvety, molten embrace gives way to a sadly dry, crumbly, or even grainy texture. That once-luscious sauce, the very soul of the dish, mysteriously vanishes, leaving behind a stark, unappetizing shadow of what could have been. We have all been there, staring into a baking dish, wondering where we went wrong. The quest for that elusive, perfect mac and cheese, one that remains gloriously creamy from the first spoonful to the last, can feel like chasing a culinary unicorn. But fear not, fellow food enthusiasts, for today, we are unveiling the closely guarded secrets, the nuanced techniques, and the often-overlooked details that will transform your mac and cheese from merely good to undeniably legendary. We are not just talking about a recipe; we are delving into the very science and art behind achieving that sublime, uninterrupted creaminess, ensuring every bite is as heavenly as the last, without a hint of dryness or graininess in sight.
Understanding the Enemy: Why Mac and Cheese Goes Wrong
Before we can conquer the challenge, we must first understand its roots. Why does our beloved mac and cheese betray us, morphing into a dry, desolate landscape or a gritty, unappealing mess? The culprits are often subtle, lurking in plain sight, masquerading as innocent steps in our cooking process.
One primary antagonist is overcooking the pasta. We often boil our macaroni to that perfect al dente for immediate consumption. However, for baked mac and cheese, the pasta will continue to cook in the hot cheese sauce, and then again in the oven. If it starts out fully cooked, it will absorb too much liquid during these subsequent stages, leaving your sauce parched and your pasta mushy.
Another common pitfall lies in the béchamel, or cheese sauce base. A thin, watery béchamel is a recipe for disaster. It lacks the body and emulsifying power to cradle the cheese and maintain its creamy integrity. Conversely, a béchamel that is too thick can also lead to issues, creating a clumpy sauce that struggles to coat the pasta evenly. The consistency here is paramount.
Then there is the cheese itself. Not all cheeses are created equal when it comes to melting and emulsifying. Some cheeses, particularly those with low moisture content or high acidity, tend to separate or become oily when subjected to heat, leading to that dreaded grainy texture. Choosing the right blend of cheeses is a critical step many overlook.
Finally, baking time and temperature play a pivotal role. An oven that is too hot or baking for too long can evaporate precious moisture from your sauce, leaving it dry and tight. It is a delicate balance, one that requires a keen understanding of how heat interacts with dairy and starch. We will explore each of these elements in detail, equipping you with the knowledge to sidestep these common pitfalls and achieve mac and cheese nirvana.
The Foundation: Perfecting Your Pasta
The journey to impeccable mac and cheese begins not with the cheese, but with the pasta. It is the canvas upon which our cheesy masterpiece will be painted, and its preparation dictates much of the final texture.
Our golden rule for mac and cheese pasta is simple, undercook it. We are aiming for a texture that is significantly firmer than al dente, almost crunchy. Think of it as cooking the pasta 2 to 3 minutes less than the package directions suggest. This might feel counterintuitive, but remember, the pasta will continue to cook in the hot cheese sauce and then again in the oven. This undercooking allows the pasta to absorb the rich, flavorful cheese sauce during the baking process, rather than simply bloating with water. This absorption is key to a creamy final product, as the pasta becomes impregnated with flavor and moisture, rather than just coated.
When it comes to shape, elbow macaroni is the classic choice for a reason. Its small, curved shape is ideal for trapping and holding onto that luscious sauce. However, feel free to experiment with other small, sturdy shapes like cavatappi, shells, or ditalini. The key is to choose a shape that has nooks and crannies to embrace the sauce.
Salt your pasta water generously. This is your only chance to season the pasta itself, so do not be shy. It should taste like the sea. This step is crucial for building layers of flavor from the very beginning. Once the pasta is undercooked, drain it thoroughly, but do not rinse it. The residual starch on the pasta helps the cheese sauce adhere beautifully, contributing to that desirable creamy mouthfeel. A quick toss with a tiny pat of butter or a drizzle of olive oil after draining can also prevent sticking while you prepare the sauce, without washing away that precious starch.
The Heart of the Matter: Crafting the Silky Béchamel
The béchamel, often referred to as a white sauce, is the unsung hero of mac and cheese. It is the emulsifying agent, the creamy backbone that prevents the cheese from separating into an oily, grainy mess. A well-made béchamel is the secret to that velvety, unbroken texture we all crave.
We begin with a roux, a mixture of equal parts butter and flour cooked together. The butter provides richness, and the flour acts as a thickening agent. Melt your butter gently in a heavy-bottomed saucepan over medium heat. Once melted, whisk in the flour, creating a paste. Cook this roux for 1 to 2 minutes, constantly stirring, until it smells slightly nutty and loses its raw flour taste. We are aiming for a pale, blonde roux, not a dark one, as a darker roux will impart a different flavor and have less thickening power.
Next comes the milk. The type of milk you use truly matters. Whole milk is our champion here, as its higher fat content contributes significantly to the richness and stability of the sauce. While you can use lower-fat milk, you risk a less luxurious texture. For an extra layer of decadence, consider a splash of heavy cream mixed in with your whole milk. Gradually whisk in cold milk into your hot roux, a little at a time. This gradual addition, combined with the temperature difference, helps prevent lumps from forming. Keep whisking continuously as the sauce thickens, ensuring a smooth, uniform consistency. Bring the béchamel to a gentle simmer, allowing it to cook for 5 to 7 minutes, or until it coats the back of a spoon. This cooking time is essential to fully cook out the flour taste and allow the sauce to reach its optimal thickness. It should be thick enough to cling to the whisk, but still pourable, resembling a creamy gravy. Season your béchamel with salt, white pepper (to avoid black flecks), and a pinch of freshly grated nutmeg. Nutmeg is a classic béchamel seasoning that subtly enhances the cheesy flavor without overpowering it.
The Cheese Factor: Selection and Meltdown Mastery
This is where the magic truly happens, but it is also where many mac and cheese endeavors falter. The quality and type of cheese, along with how it is incorporated, are paramount to avoiding a grainy or oily disaster.
Do not settle for pre-shredded cheese. While convenient, pre-shredded cheeses often contain anti-caking agents like cellulose, which can prevent smooth melting and contribute to a grainy texture. Always shred your own cheese from blocks. This ensures pure, unadulterated cheese that will melt beautifully.
The ideal mac and cheese employs a blend of cheeses, each contributing its unique characteristics. We want a combination of good melters and flavor powerhouses.
- • Good Melters: These are typically semi-hard cheeses with moderate moisture content.
- • Flavor Boosters (Use Sparingly): These cheeses add a punch but can become oily or stringy if used in large quantities.
The key to a smooth meltdown is to incorporate the cheese off the heat. Once your béchamel has reached its desired consistency, remove the saucepan from the stove. Add your shredded cheeses in batches, stirring constantly until each batch is fully melted and incorporated before adding the next. This gradual addition, combined with the residual heat of the béchamel, allows the cheese to melt gently and evenly, preventing it from seizing or becoming oily. If the sauce cools too much, you can return it to very low heat briefly, but be vigilant. Overheating the cheese is a surefire way to induce separation and graininess. Stir until you have a gloriously smooth, homogenous cheese sauce, a truly magnificent sight to behold.
The Unification: Bringing it All Together
With our perfectly undercooked pasta and our silken cheese sauce ready, it is time for the harmonious union. This step is straightforward but crucial for even distribution and optimal texture.
Pour the undercooked, well-drained pasta directly into the warm cheese sauce. Using a sturdy spatula or spoon, gently fold the pasta into the sauce, ensuring every piece is thoroughly coated. We are aiming for a beautiful, even distribution of that glorious cheesy goodness. It should look lusciously saucy at this stage, perhaps even a bit looser than you might expect. Remember, the pasta will continue to absorb liquid in the oven, so a slightly looser consistency now is a good indicator of future creaminess.
At this point, you have a stove-top mac and cheese that is utterly delicious on its own. If you are serving it immediately and not baking it, this is your moment of triumph. However, for a baked version, we proceed to the next critical stage.
The Bake: Temperature, Time, and Topping
Baking mac and cheese adds a layer of depth, a golden crust, and allows the flavors to meld beautifully. But this is also where many fall victim to the dreaded dry-out.
- • Preparation for Baking: Transfer your cheesy pasta mixture into a buttered baking dish. Do not pack it down too tightly, as this can inhibit even cooking and moisture distribution. We want a bit of breathing room.
- • The Crucial Topping: For that irresistible golden-brown crust and extra textural contrast, we often add a topping.
- • The Baking Sweet Spot: This is where precision prevents dryness. We want to bake the mac and cheese just long enough to heat it through, melt the topping, and achieve a golden-brown crust, without evaporating all that precious sauce.
- • The Rest is Best: Once out of the oven, resist the immediate urge to dive in. Allow the mac and cheese to rest for 5 to 10 minutes before serving. This resting period allows the sauce to set slightly, preventing it from being too loose, and helps the flavors fully develop. It also significantly reduces the risk of burning your tongue.
Advanced Strategies for Ultimate Creaminess
For those who wish to elevate their mac and cheese to truly sublime levels, there are a few extra tricks up our sleeves.
- • Evaporated Milk or Cream Cheese: For an extra layer of guaranteed creaminess and stability, consider incorporating a can of evaporated milk into your béchamel, replacing some of the whole milk. Evaporated milk has a higher concentration of milk solids, which contributes to a very smooth, stable sauce. Alternatively, whisking in 2 to 4 ounces of cream cheese or mascarpone at the end of your cheese sauce creation can work wonders, adding a luxurious richness and helping to stabilize the emulsion.
- • Sodium Citrate (The Chef's Secret): This is a game-changer for cheese sauces, transforming them into incredibly smooth, stable emulsions that resist breaking or becoming grainy, even when reheated. Sodium citrate is a food additive that modifies the proteins in cheese, allowing them to disperse evenly in liquid without clumping. You can find it online or at specialty cooking stores. For a basic cheese sauce, dissolve about 1 teaspoon of sodium citrate in a cup of liquid (milk or even water) before adding your shredded cheese. Whisk until the cheese melts into a perfectly smooth, almost Velveeta-like consistency, but with the flavor of real cheese. It is a fantastic tool for foolproof creaminess.
- • Flavor Infusions: Do not be afraid to infuse your béchamel with extra flavor. You can simmer an onion half, a bay leaf, or a few peppercorns in the milk before adding it to the roux. Just remember to strain them out before making the sauce. A pinch of mustard powder or a dash of hot sauce can also subtly enhance the cheese flavor without making the dish spicy.
- • Reheating Wisdom: The bane of leftover mac and cheese is often its dry, stiff texture. To revive it, gently reheat individual portions in a saucepan over low heat, adding a splash of milk or cream and stirring frequently until it regains its creamy consistency. A microwave can also work, but reheat in short bursts, stirring often, and adding a little liquid as needed.
Putting It All Together
Achieving that perfectly creamy, never-dry, never-grainy mac and cheese is not a stroke of luck, but rather the culmination of careful technique, thoughtful ingredient selection, and a touch of culinary understanding. We have navigated the treacherous waters of overcooked pasta, watery béchamel, and problematic cheese, emerging with a clear roadmap to success.
Remember the pillars of our journey: undercooking the pasta to allow it to absorb the luscious sauce, crafting a robust and silky béchamel as the creamy foundation, selecting a harmonious blend of quality cheeses and melting them gently off the heat, and baking with a gentle hand to preserve every drop of moisture. Incorporating advanced strategies like evaporated milk or even sodium citrate can further elevate your creation, ensuring a foolproof, restaurant-quality result every single time.
This is more than just a recipe; it is an education in the art of crafting comfort food perfection. Armed with these insights, you are now equipped to banish dry, grainy mac and cheese from your kitchen forever. Go forth, experiment with your cheese blends, play with your toppings, and revel in the joy of creating a dish that truly embodies warmth, richness, and unparalleled creaminess. Your journey to mac and cheese mastery has officially begun, and we are confident that your future bowls will be nothing short of extraordinary. Enjoy the journey, and savor every velvety, cheesy bite.