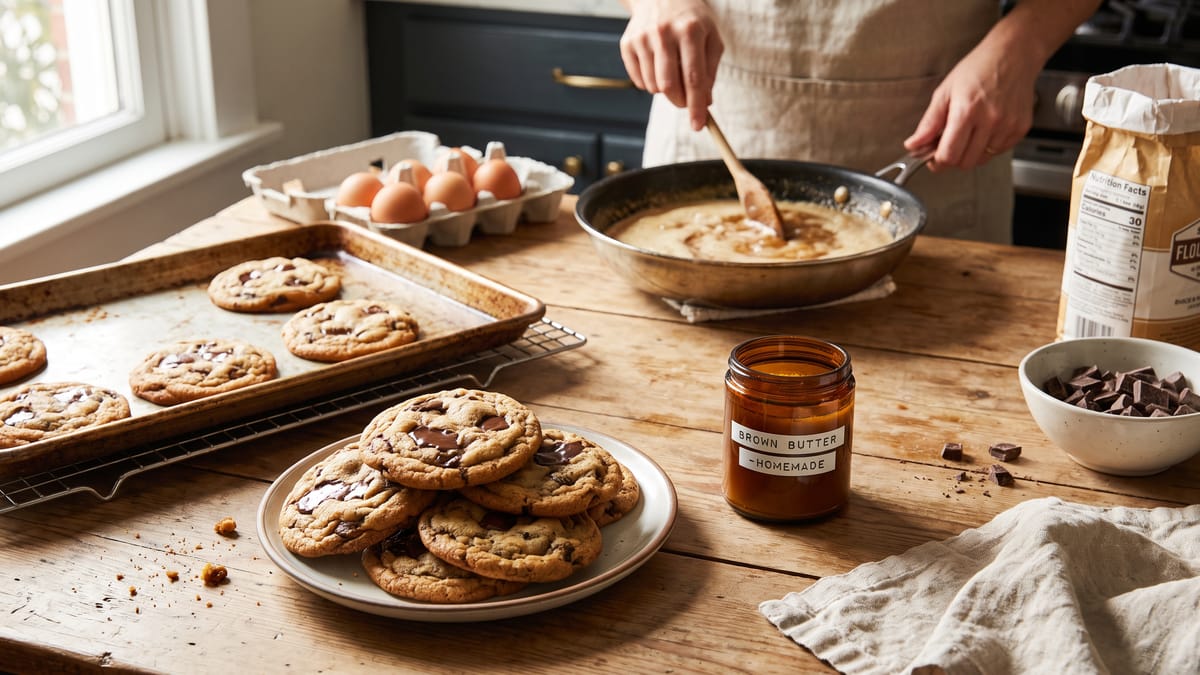
I Used Brown Butter in Chocolate Chip Cookies and They Were Next Level
"I Used Brown Butter in Chocolate Chip Cookies and They Were Next Level"
We've all been there, haven't we? Standing in the kitchen, apron on, the comforting aroma of vanilla and melting chocolate wafting through the air as we embark on the sacred ritual of baking chocolate chip cookies. It's a classic, a timeless treat that evokes childhood memories and instant joy. We all have our go-to recipe, our secret ingredient, our tried-and-true method for achieving that perfect balance of chewy and crisp. For years, we thought we had it mastered, a cookie connoisseur in our own right. Then, a whispered suggestion, a fleeting thought, a gentle nudge from the culinary universe presented itself: brown butter. And just like that, our cookie world, which we believed to be perfectly formed and deliciously complete, was utterly transformed.
The Revelation: Why Brown Butter?
The concept of browning butter might seem like a simple culinary technique, almost an afterthought, but its impact on flavor is nothing short of profound. When we melt butter, we're essentially separating its components: water, milk solids, and butterfat. As the butter continues to cook over gentle heat, the water evaporates, and the milk solids begin to caramelize. This is where the magic truly happens. These tiny milk proteins, once pale and unassuming, undergo a Maillard reaction, a complex chemical process responsible for the browning and flavor development in many cooked foods. Think of the crispy skin on a roasted chicken, the deep crust on a perfectly seared steak, or the golden-brown exterior of a freshly baked loaf of bread. It's all thanks to the Maillard reaction.
In the case of brown butter, this reaction creates an incredible depth of flavor. We move beyond the simple, creamy taste of regular butter and delve into a realm of nutty, toasty, almost caramel-like notes. It's a flavor profile that adds a layer of sophistication and complexity to anything it touches, and in the context of chocolate chip cookies, it's a game-changer. It elevates the familiar to the extraordinary, taking an already beloved classic and propelling it into a league of its own. We're not just making cookies; we're crafting an experience.
The Journey to Brown Butter Perfection: A Step-by-Step Guide
Browning butter isn't difficult, but it does require a little attention and a keen eye. It's a process that rewards patience and presence. Let's walk through it together, ensuring we achieve that golden-brown perfection every single time.
Choosing Our Butter Wisely
The quality of our starting ingredient matters immensely. We always opt for unsalted butter when baking, as it gives us complete control over the salt content in our final product. European-style butters, often with a higher butterfat content, can yield an even richer brown butter, but any good quality unsalted butter will work beautifully. We make sure our butter is cold from the refrigerator, as this allows for a more even melting and browning process.
The Right Vessel for the Task
When browning butter, the choice of pan is crucial. We prefer a light-colored, heavy-bottomed saucepan. The light color allows us to easily monitor the browning process, preventing us from accidentally burning the butter, which can happen quickly. A heavy bottom ensures even heat distribution, reducing the risk of scorching. A stainless steel pan is ideal; we avoid dark-colored non-stick pans, as they can obscure our view of the browning milk solids.
The Art of Melting and Foaming
We start by cutting our cold butter into even pieces, usually one-inch cubes. This helps it melt more uniformly. We place the butter in our chosen saucepan over medium heat. As the butter melts, it will begin to foam. This foam is primarily the water content evaporating. We gently swirl the pan occasionally to ensure even melting and prevent the butter from sticking to the bottom. We resist the urge to stir vigorously at this stage, as we want the milk solids to settle at the bottom of the pan where they can begin to caramelize.
The Sizzle, The Smell, The Magic
Once the butter has fully melted and the foam subsides, we'll notice the distinct sound of sizzling. This indicates that the remaining water is evaporating. As the sizzling diminishes, we'll see tiny specks begin to form at the bottom of the pan. These are the milk solids. This is the critical moment. We continue to cook, keeping a close watch. The milk solids will gradually change color, from pale yellow to golden, then to a beautiful amber, and finally to a rich, toasty brown. Simultaneously, the aroma will transform. It will evolve from a simple buttery scent to a deep, nutty, almost caramel-like fragrance. This is our cue.
The Golden Ratio: Perfect Timing
Timing is everything when browning butter. The difference between perfectly browned and burnt butter can be a matter of seconds. We aim for a rich, amber color, like toasted hazelnuts. The milk solids at the bottom of the pan should be a deep brown, but not black. As soon as we reach this desired color and aroma, we immediately remove the pan from the heat. The residual heat in the pan will continue to cook the butter, so it's better to err on the side of slightly under-browned than over-browned.
The Immediate Transfer: Stopping the Cook
Once the butter reaches its peak, we immediately pour it, including all the glorious browned bits, into a heatproof bowl. This stops the cooking process and prevents the butter from burning. If we leave it in the hot pan, it will continue to cook and potentially turn bitter. We make sure to scrape all those precious browned bits from the bottom of the pan, as they are packed with flavor.
Cooling and Solidifying: A Necessary Step
For most cookie recipes, including our chocolate chip cookie masterpiece, we need the butter to be cooled and partially solidified. If we add hot brown butter to our sugar and eggs, we risk scrambling the eggs and creating a greasy, unappealing dough. We let the brown butter cool in the bowl until it's just barely warm, or even room temperature. Depending on the recipe, we might even need to chill it until it returns to a soft, spreadable, but not liquid, consistency. This cooling process allows the butterfat to firm up slightly, which is essential for proper creaming with sugar and for achieving the right texture in our cookies. A good rule of thumb is to let it cool for at least 30 minutes, or even longer if our kitchen is warm. Sometimes, we even pop it in the refrigerator for 10-15 minutes, stirring occasionally to ensure even cooling.
The Science of Sweetness: How Brown Butter Transforms Cookies
Now that we've mastered the art of browning butter, let's delve into why it makes such a monumental difference in our chocolate chip cookies. It's not just about adding a single flavor note; it's about a symphony of sensory experiences.
A Deeper, More Complex Flavor Profile
As we discussed, brown butter introduces nutty, toasty, and caramel undertones. This complex flavor profile plays beautifully with the sweetness of the sugar and the richness of the chocolate. It adds a sophisticated layer that elevates the entire cookie, making it taste more artisanal and thoughtfully crafted. It's the difference between a simple melody and a rich, harmonic chord.
Enhanced Aroma
The aroma of brown butter is intoxicating on its own, but when combined with vanilla, brown sugar, and melting chocolate, it creates an olfactory experience that is simply irresistible. The scent alone promises a delicious treat, and it delivers. Our kitchens will be filled with a fragrance that beckons everyone closer.
A Subtle Change in Texture
While brown butter's primary impact is on flavor, it can also subtly influence texture. By removing some of the water content from the butter during the browning process, we are left with a higher concentration of butterfat. This can contribute to a slightly chewier cookie with a more tender crumb. The cookies might also spread a little more, leading to those desirable thin edges and chewy centers.
The Perfect Pairing: What Else to Consider
While brown butter is the star of this show, there are other elements we can fine-tune to ensure our brown butter chocolate chip cookies are truly next level.
The Sugar Balance: Brown vs. Granulated
Most great chocolate chip cookie recipes use a combination of brown sugar and granulated sugar. Brown sugar, with its molasses content, contributes to chewiness and a deeper, caramel-like flavor, which harmonizes perfectly with brown butter. Granulated sugar, on the other hand, helps with spread and crispness. We might even consider increasing the proportion of brown sugar slightly to further enhance the caramel notes.
The Vanilla Factor: Quality Over Quantity
With such a rich butter flavor, we want our vanilla to stand up and complement it, not get lost. We always use pure vanilla extract, and if we're feeling particularly indulgent, a vanilla bean paste can add beautiful specks and an even more intense vanilla aroma.
The Chocolate Choice: A Crucial Decision
This is not the time for mediocre chocolate chips. We opt for high-quality chocolate, whether it's chopped chocolate bars, discs, or a mix of different types. We love a combination of bittersweet and semi-sweet chocolate, or even milk chocolate for those who prefer a sweeter cookie. The varying melting points of different chocolate types can create delightful pockets of molten goodness throughout the cookie. Large chunks or discs of chocolate are particularly satisfying, creating those glorious pools of melted chocolate.
A Touch of Salt: The Flavor Enhancer
Salt is often overlooked in sweet baking, but it's absolutely essential, especially with the richness of brown butter and chocolate. A good pinch of flaky sea salt sprinkled on top of the cookies before baking, or even just a slightly increased amount in the dough, will cut through the sweetness and enhance all the other flavors, making them pop. It's the unsung hero that brings everything into balance.
Chilling the Dough: The Patience Pays Off
We've preached the virtues of chilling cookie dough countless times, and for brown butter chocolate chip cookies, it's even more beneficial. Chilling the dough allows the flavors to meld and deepen, especially the nutty notes from the brown butter. It also solidifies the butterfat, which helps prevent the cookies from spreading too much, resulting in a thicker, chewier cookie with a more concentrated flavor. We aim for at least 24 hours of chilling, but 48-72 hours can yield truly spectacular results.
Baking Wisdom: The Right Temperature and Time
Every oven is different, so we recommend investing in an oven thermometer to ensure accuracy. We typically bake our brown butter chocolate chip cookies at 350°F (175°C) until the edges are golden brown and the centers are still slightly soft. They will continue to set as they cool on the baking sheet. Overbaking is the enemy of a chewy cookie, so we always keep a close watch.
Troubleshooting Our Brown Butter Journey
Even experienced bakers encounter hiccups. Here are a few common issues and how to navigate them.
My Butter Burned!
It happens to the best of us. If our butter turns black or emits a acrid smell, it's unfortunately beyond saving. The burnt milk solids will impart a bitter, unpleasant flavor. We discard it and start fresh. The key is constant vigilance and removing it from the heat as soon as it reaches that perfect amber hue.
My Cookies Spread Too Much!
This can be due to a few factors. Our butter might have been too warm when incorporated into the dough, or we might not have chilled the dough sufficiently. Ensure the butter is cooled to a soft, spreadable consistency, and always chill the dough for at least a few hours, preferably overnight. If our kitchen is very warm, we might even pop the dough back in the fridge between batches.
My Cookies Are Too Cakey!
A common culprit for cakey cookies is too much flour or overmixing the dough. When we overmix, we develop the gluten in the flour, leading to a tougher, more cake-like texture. We mix just until the ingredients are combined. Also, ensure we're measuring our flour correctly, preferably by weight using a kitchen scale, as scooping directly from the bag can compact the flour and lead to using too much.
My Cookies Lack Flavor!
If our brown butter cookies aren't as flavorful as we hoped, it could be that the butter wasn't browned enough. We make sure those milk solids reach a deep, nutty brown. Additionally, we might need to adjust our salt content or ensure our vanilla extract is of good quality. Sometimes, simply letting the dough chill longer can deepen the flavors significantly.
At the End of the Day
The journey we embarked upon, from a simple stick of butter to a batch of transcendent chocolate chip cookies, has been nothing short of extraordinary. The revelation of brown butter isn't just a technique; it's a philosophy, an understanding that sometimes, the simplest adjustments can yield the most profound results. It's about taking the familiar and elevating it, discovering new depths of flavor and texture in something we thought we knew intimately.
We encourage you, with all our culinary heart, to try this simple yet transformative technique. Don't be intimidated; embrace the process, savor the aromas, and relish in the moment of creation. The first bite of a brown butter chocolate chip cookie is an experience unto itself: a symphony of nutty, caramel, sweet, and salty notes, all perfectly balanced and utterly addictive. It's a testament to the power of thoughtful cooking, a reminder that even in the most classic of recipes, there's always room for discovery, for innovation, and for a little bit of next-level magic. So go forth, brown some butter, and prepare to have your cookie world rocked. We promise, you won't look back.