How to Build a Sourdough Starter from Scratch
Building a sourdough starter from scratch is one of the most rewarding culinary adventures we can embark on in our home kitchens. It's a journey filled with delightful aromas, fascinating science, and...
Building a sourdough starter from scratch is one of the most rewarding culinary adventures we can embark on in our home kitchens. It's a journey filled with delightful aromas, fascinating science, and the satisfaction of creating something truly unique. When we nurture our starter, we’re not just cultivating yeast and bacteria; we’re also fostering a connection to centuries of baking tradition. So, let’s dive into the process of creating our own sourdough starter, step by step, ensuring we have all the tools and knowledge we need to succeed.
Understanding Sourdough Starters
Before we get our hands dirty, let's take a moment to understand what a sourdough starter is. At its core, a sourdough starter is a mixture of flour and water that captures wild yeast and bacteria from the environment, creating a natural leavening agent. Unlike commercial yeast, which is cultivated and packaged, sourdough relies on these wild organisms to ferment and rise, imparting complex flavors and textures to our bread.
The wild yeast and bacteria work together in a symbiotic relationship. The yeast ferments the sugars in the flour, producing carbon dioxide and alcohol, while the bacteria contribute acidity and flavor. This unique combination gives sourdough its characteristic tangy taste and chewy crust.
Gathering Our Ingredients
Now that we have a grasp of what we’re creating, let's gather our ingredients. The beauty of a sourdough starter is its simplicity. We will need:
- • Flour: We can use all-purpose flour, whole wheat, or rye flour. Each type will contribute different flavors and characteristics to our starter. Whole grain flours often yield a more active starter due to their higher nutrient content.
- • Water: Ideally, we should use filtered or bottled water at room temperature. Chlorine in tap water can inhibit yeast growth, so it’s best to avoid it if possible.
The First Mix
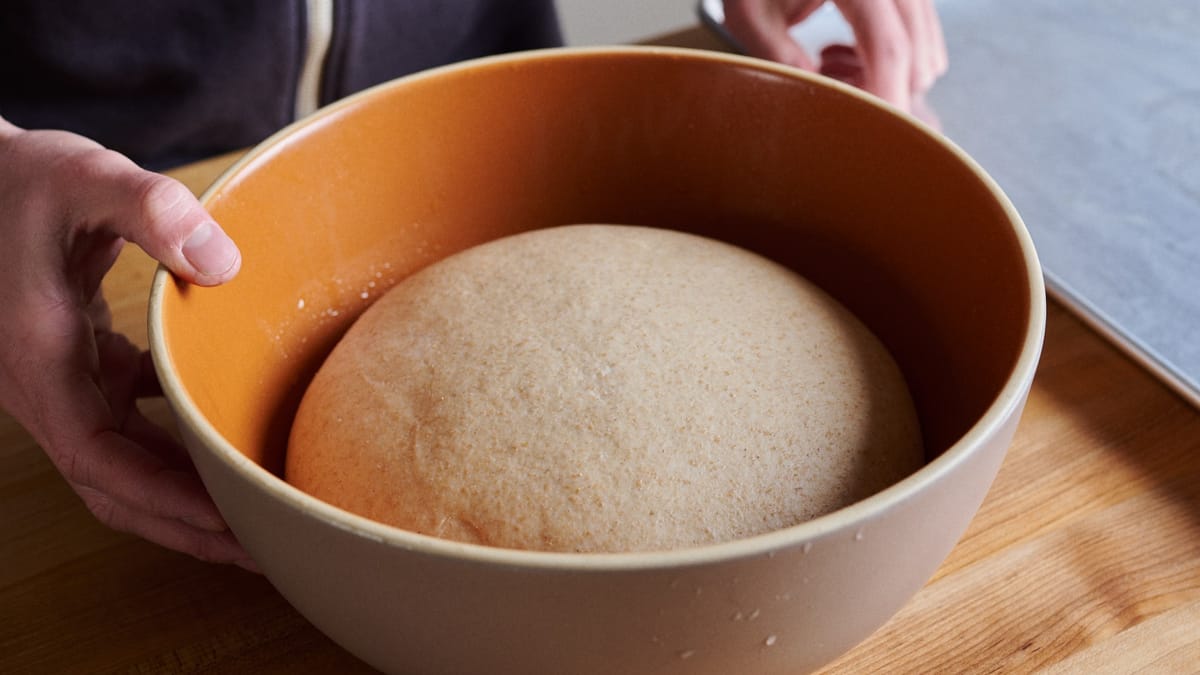
We’re ready to create our first mixture! In a clean glass or plastic container, we’ll combine equal parts flour and water. For our initial mix, let’s start with about half a cup of flour and half a cup of water. We’ll stir the mixture until it’s smooth and well combined, ensuring there are no dry clumps of flour hanging around. The consistency should be like a thick pancake batter.
Once we’ve mixed everything, we’ll cover the container loosely with a cloth or a lid that allows air to flow in. This is crucial as it allows wild yeast from the environment to enter while keeping out any unwanted contaminants.
The Fermentation Process
Now comes the waiting game! We should place our starter in a warm spot in the kitchen, ideally around 70°F to 75°F (21°C to 24°C). This warmth will encourage fermentation. Over the next few days, we’ll start to notice some changes.
On days two and three, we might see some bubbles forming on the surface, which is a positive sign that the wild yeast is becoming active. If we don’t see bubbles yet, don’t fret! Sometimes it takes a little longer for the yeast to catch on.
Feeding Our Starter
Once we start to see activity, it’s time to feed our starter. This involves discarding half of our mixture and replenishing it with fresh flour and water. We’ll discard about half of the starter—this helps to keep the yeast population manageable and supports healthy growth.
After discarding, we’ll add another half cup of flour and half cup of water, mixing it all together again. This feeding process should occur every 24 hours. As we continue this routine, we’ll notice our starter becoming more bubbly and doubling in size within a few hours of feeding.
Observing the Changes
As the days progress, we’ll start to observe even more changes in our starter. The smell will evolve from a somewhat floury aroma to a pleasantly tangy scent. This transformation is an indication that the lactic acid bacteria are doing their job.
By day five or six, our starter should be lively, bubbling, and doubling in size within a few hours of feeding. If it’s not quite there yet, we can continue feeding it and being patient. Every starter develops at its own pace, influenced by factors like temperature, humidity, and the specific flour we’re using.
Achieving the Right Consistency
As our starter matures, we want to ensure it reaches the right consistency. Ideally, it should be thick but pourable, similar to a thick pancake batter. If it’s too thick, we can adjust by adding a little more water during our feedings. Conversely, if it’s too runny, we might want to add a bit more flour.
The Taste Test
When our starter is bubbling and doubling in size consistently, it’s time for the taste test. We can take a small spoonful and give it a nibble. It should have a pleasantly tangy flavor without being overly sour. If it tastes off or too bitter, it may indicate that something went wrong, and we might need to adjust our feeding or environment.
Maintenance and Long-Term Care
Once our starter is established, we can bake with it! If we plan to bake regularly, we can keep our starter at room temperature, feeding it daily. If we want to take a break from baking, we can store it in the refrigerator. When refrigerated, it only needs to be fed about once a week.
When we’re ready to use our starter again after some time in the fridge, we’ll need to bring it back to room temperature and feed it a couple of times to reactivate it fully.
Troubleshooting Common Issues
While our sourdough journey is mostly smooth sailing, we might encounter some bumps along the way. Here are some common issues and how to address them:
If our starter isn’t bubbling as expected, it may be too cold or not getting enough flour. We can try moving it to a warmer spot or adjusting our feeding ratio. If it develops a layer of liquid on top (called hooch), it’s a sign that it’s hungry. We can stir it back in or pour it off, then feed it.
If we notice an off-putting smell or any mold, it’s best to discard the starter and start anew.
Celebrating Our Creation
After about a week of consistent feeding and nurturing, we’ll have our very own sourdough starter, ready to create delicious loaves of bread, pancakes, or even pizza dough. The joy of baking with our homemade starter is immense, as we can share our creations with friends and family, celebrating the flavors that only a natural leavening agent can provide.
As we delve into the world of sourdough baking, we’ll discover that each starter has its own personality, influenced by the flour, water, and environment. This uniqueness adds to the charm of sourdough, making every loaf a one-of-a-kind creation.
Sourdough Beyond Bread
Once we’ve mastered the basics of sourdough bread, we can explore a variety of recipes that utilize our starter. From sourdough pancakes for a delightful breakfast to sourdough crackers for a savory snack, the possibilities are endless. We can even experiment by adding herbs, cheese, or other flavorings to elevate our dishes.
A Journey Worth Taking
Building a sourdough starter from scratch is not just a culinary project; it’s a journey of discovery. We learn patience, the art of fermentation, and the joy of creating something from simple ingredients. Each loaf of sourdough we bake is a testament to our efforts and a connection to the age-old tradition of bread making.
So, let’s roll up our sleeves, grab our flour and water, and embark on this delicious adventure. With each feed, we’re not just cultivating a starter; we’re nurturing our culinary skills and creating a flavorful legacy that we can pass down to future generations. Happy baking!