Building a Custom Kitchen Organizer
Building a custom kitchen organizer is more than just a practical project; it's a chance to create a space that truly reflects our cooking style and habits. We all know that a well-organized kitchen e...
Building a custom kitchen organizer is more than just a practical project; it's a chance to create a space that truly reflects our cooking style and habits. We all know that a well-organized kitchen enhances our cooking experience, making it not only more efficient but also more enjoyable. Whether we’re whipping up a quick weeknight dinner or preparing for a grand feast, having everything we need within reach can transform the way we cook.
When we decide to embark on this journey of creating our own kitchen organizer, we’re tapping into our creativity and resourcefulness. We’ll explore various materials, designs, and strategies that suit our individual needs and kitchen layouts. From utensil drawers to spice racks, we’ll delve into the essential components of a well-organized cooking space. So, let’s roll up our sleeves and get started!
Assessing Our Needs
The first step in building a custom kitchen organizer is assessing our needs. Every kitchen is unique, shaped not only by its layout but also by how we use it. To begin, let’s take a good look at what we currently have.
We should start by evaluating our kitchen items. What utensils do we reach for most often? Perhaps we have a collection of baking tools that deserves its own space, or maybe our spice jars are strewn haphazardly across a shelf. By identifying our frequently used items, we can tailor our organization system to make them easily accessible.
Next, let’s consider our cooking style. Do we love to experiment with new recipes, or are we more of a meal-prep enthusiast? Knowing how we cook will help us create zones within our kitchen. For instance, if we often bake, we might want to dedicate a section of our counter to baking tools and ingredients. If we grill frequently, our organization should accommodate our grill utensils and marinades.
Designing the Layout
Once we have a clear understanding of our needs, it’s time to design our kitchen organizer. This is where our creativity can shine!
Let’s think about the layout. We can create zones based on our cooking activities: a prep zone, a cooking zone, and a storage zone. The prep zone should include cutting boards, knives, and mixing bowls, while the cooking zone might house pots, pans, and spatulas. The storage zone is where we can keep our dry goods, canned items, and other essentials.
When designing the layout, we can also consider vertical space. Utilizing our walls or the inside of cabinet doors can make a significant difference. For example, we might install magnetic strips for knives or small shelves for spices. This not only saves counter space but also turns our walls into functional areas.
Choosing Materials
Now that we have a layout in mind, let’s talk about materials. The good news is that we have a plethora of options to choose from, allowing us to customize our organizer to fit our style and budget.
Wood is a classic choice for kitchen organizers. It’s sturdy, versatile, and can be stained or painted to match our kitchen’s aesthetic. If we’re looking for something more modern, metal organizers, like wire racks or pegboards, can add a sleek touch.
For those of us who love the rustic charm, reclaimed wood can provide a unique character to our kitchen. And let’s not forget about plastic and acrylic options, which can be lightweight and easy to clean. Whichever materials we choose, it’s essential to ensure they are durable and can withstand the heat and humidity of a kitchen environment.
Crafting Our Organizer
With our design and materials in place, it’s time to get crafty! Depending on our skill level, we might choose to build our organizer from scratch or repurpose existing items.
If we’re building from scratch, we’ll want to gather our tools: a saw, drill, screws, and sandpaper, among others. If we’re new to woodworking, we might consider following a simple plan we find online or purchasing a DIY kit that comes with pre-cut pieces.
For those who prefer a quicker solution, repurposing items can be just as effective. An old bookshelf can easily be transformed into a spice rack, or mason jars can be used to store utensils. We can even use tension rods to create a simple hanging storage solution for cleaning supplies under the sink.
As we craft our organizer, let’s keep in mind the importance of functionality. We want our organizer not just to look good but also to serve its purpose effectively. This might mean adjusting the height of shelves or ensuring that frequently used items are at eye level.
Customizing for Efficiency
Once our organizer is built, we can customize it for efficiency. This is where we can really personalize our space to fit our needs.
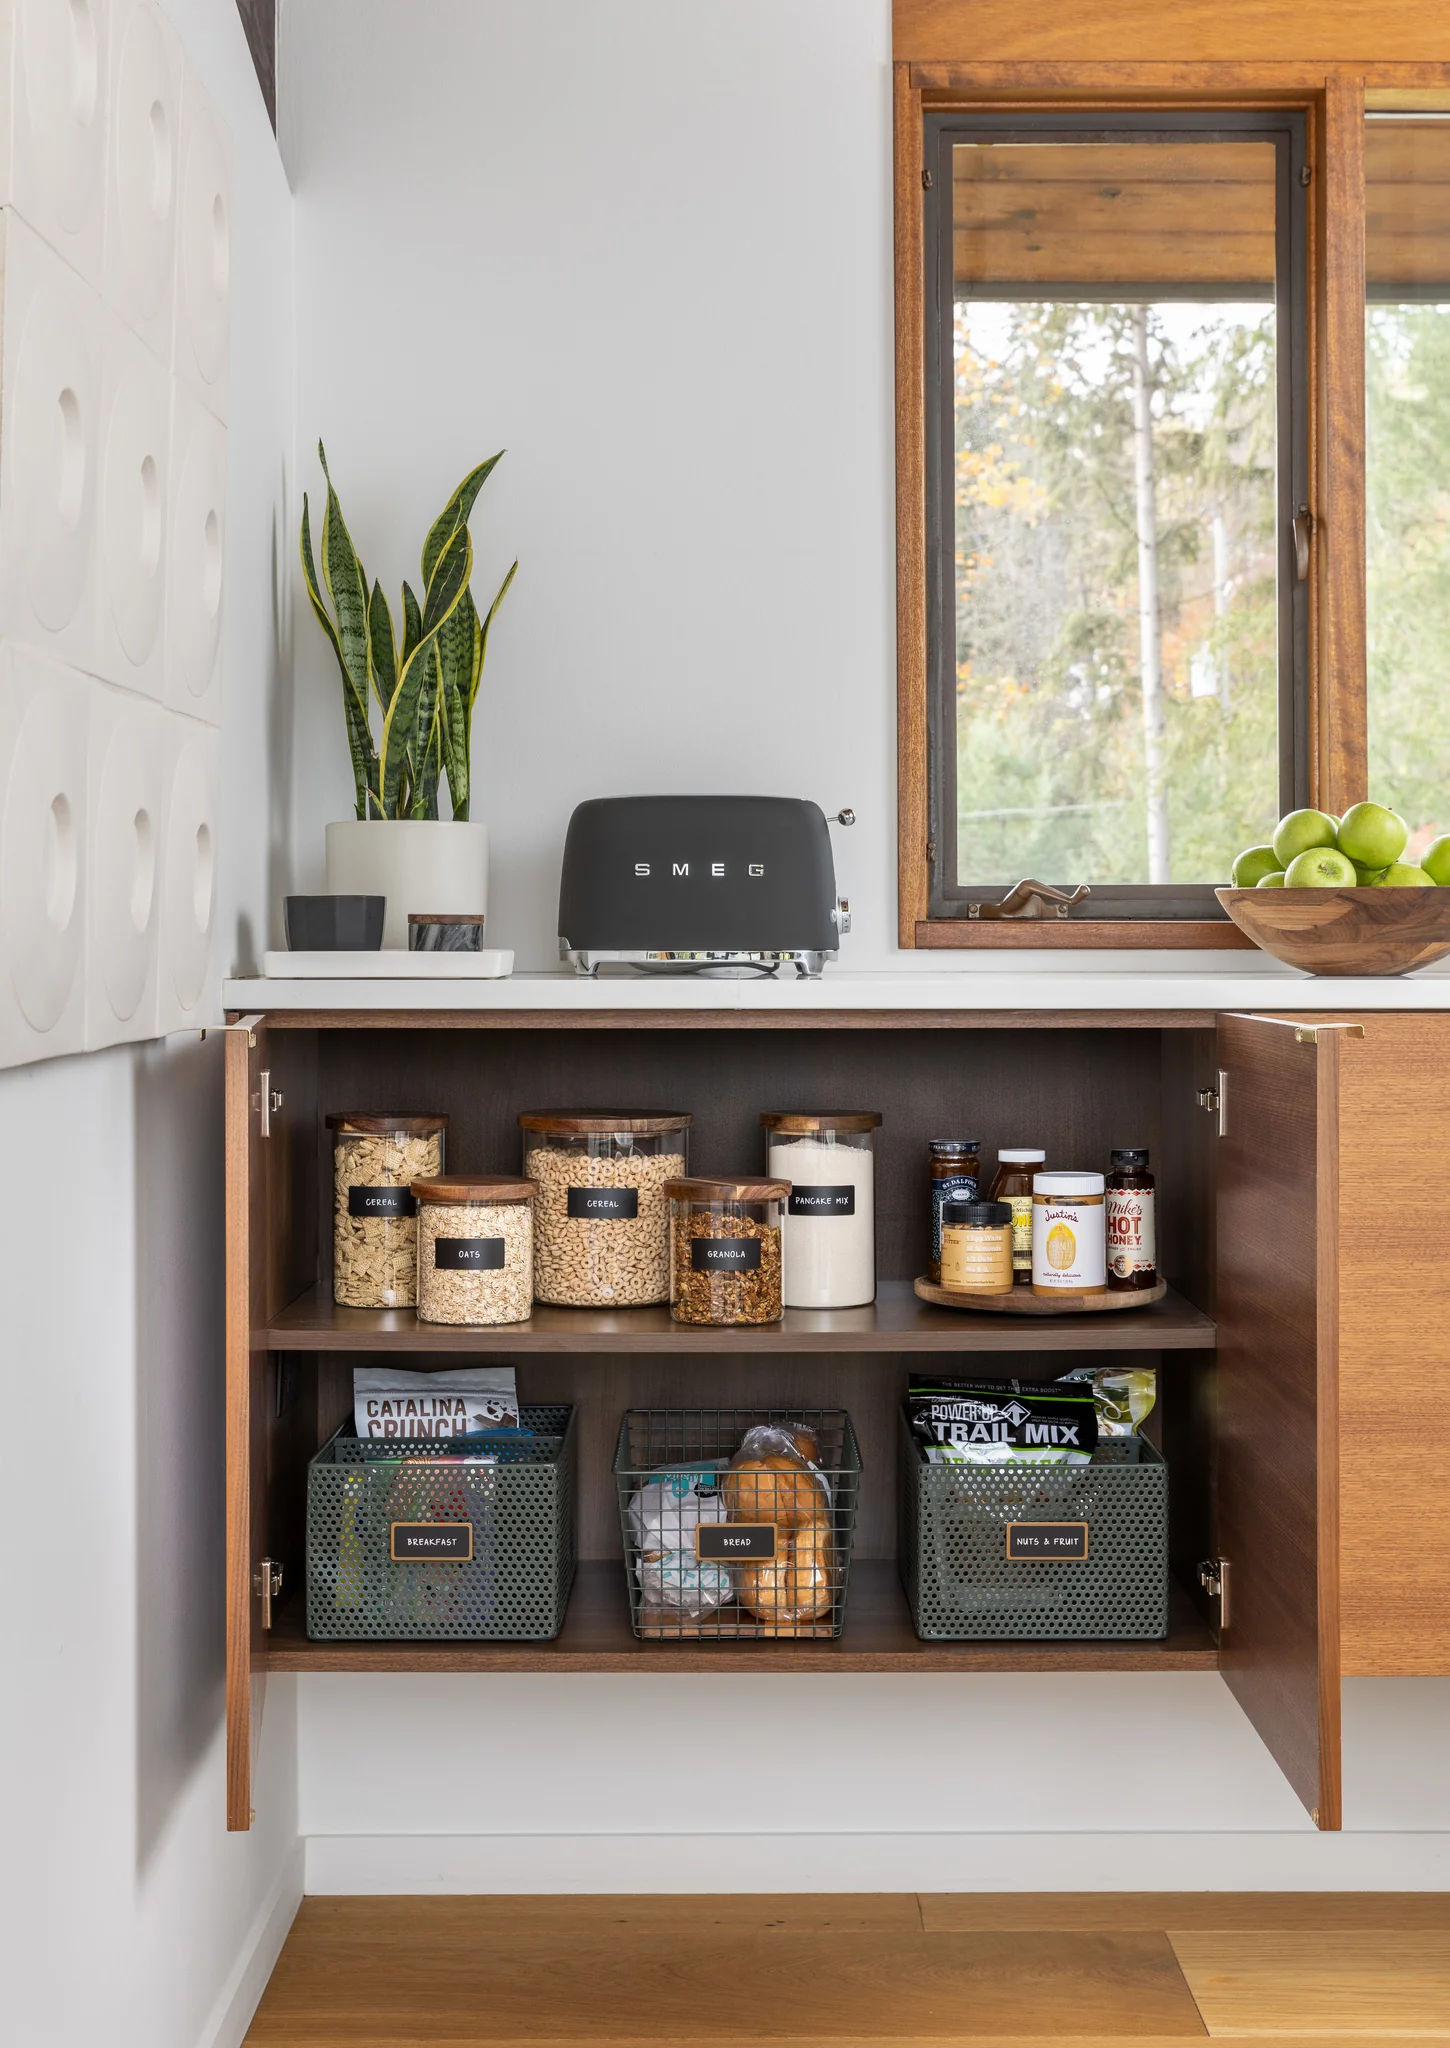
Labeling is a simple yet effective way to keep everything in its place. We can use a label maker or simply write on masking tape to create clear markers for jars, bins, and drawers. This not only helps us find what we need quickly but also makes it easier for everyone in the household to put things back where they belong.
Another tip is to group similar items together. For example, we can keep all baking supplies in one area, with flour, sugar, and baking soda neatly lined up. By doing this, we’ll streamline our cooking process and save precious time when preparing meals.
Maintaining Our Organizer
Creating a custom kitchen organizer is just the beginning; maintenance is key to ensuring it remains functional and effective. We should regularly assess our kitchen supplies, especially after big cooking events or holiday meals. This is a great time to declutter and remove any items that no longer serve us.
Establishing a cleaning routine can also help us keep our organizer in top shape. We can set aside a few minutes each week to tidy up, rearranging items as needed and ensuring that everything is in good condition. This small effort will go a long way in preserving the efficiency and aesthetic of our kitchen space.
Involving the Family
As we embark on this journey, let’s not forget the importance of involving our family in the process. Cooking is often a communal activity, and encouraging everyone to engage in the organization can foster a sense of ownership and responsibility.
We can set up a family day where we brainstorm ideas, gather materials, and build our organizer together. This not only makes the project more enjoyable but also helps us learn from one another. For instance, one family member might have great ideas for organizing spices, while another might excel at creating a baking station.
Embracing Our Unique Style
Finally, let’s remember that our kitchen organizer should reflect our unique style and personality. It’s an opportunity to showcase our favorite colors, patterns, and designs. Whether we opt for a minimalist aesthetic or a vibrant, eclectic look, the key is to create a space where we feel comfortable and inspired.
We can add personal touches, such as framed photos, artwork, or even a small herb garden on the windowsill. These elements will not only enhance the visual appeal of our kitchen but also create a warm, inviting atmosphere.
In embarking on this journey to build a custom kitchen organizer, we’re not just creating a functional space; we’re crafting an environment that celebrates our passion for cooking. With careful planning, creativity, and a little elbow grease, we can transform our kitchen into a reflection of our culinary journey. So let’s roll up our sleeves and get started on this exciting project! Happy organizing!