Introduction
At first glance, _braising, roasting,_ and _baking_ all seem like variants of “put it in the oven until it’s done.” Yet each technique carries distinct goals, moisture environments, textures, and flavor pathways. Misusing one when another is called for can mean stringy pot roast, pale chicken, or gummy focaccia. This guide demystifies the differences so you can deliberately pick—and flawlessly execute—the method that maximizes flavor, texture, and efficiency.
We’ll cover definitions, underlying science, heat transfer mechanics, equipment choices, food categories, workflow checklists, doneness cues, and real‑world troubleshooting. By the end, you’ll intuit which technique to apply _before_ you preheat.
1. High-Level Definitions
| Method | Core Definition | Moisture Environment | Typical Temp Range | Primary Goals |
|---|
| Braising | Slow cooking of tougher cuts partially submerged in flavorful liquid after an initial sear | Moist + enclosed (humid) | 275–325°F (135–165°C) oven OR gentle stovetop | Collagen → gelatin, deep flavor integration, fork tenderness |
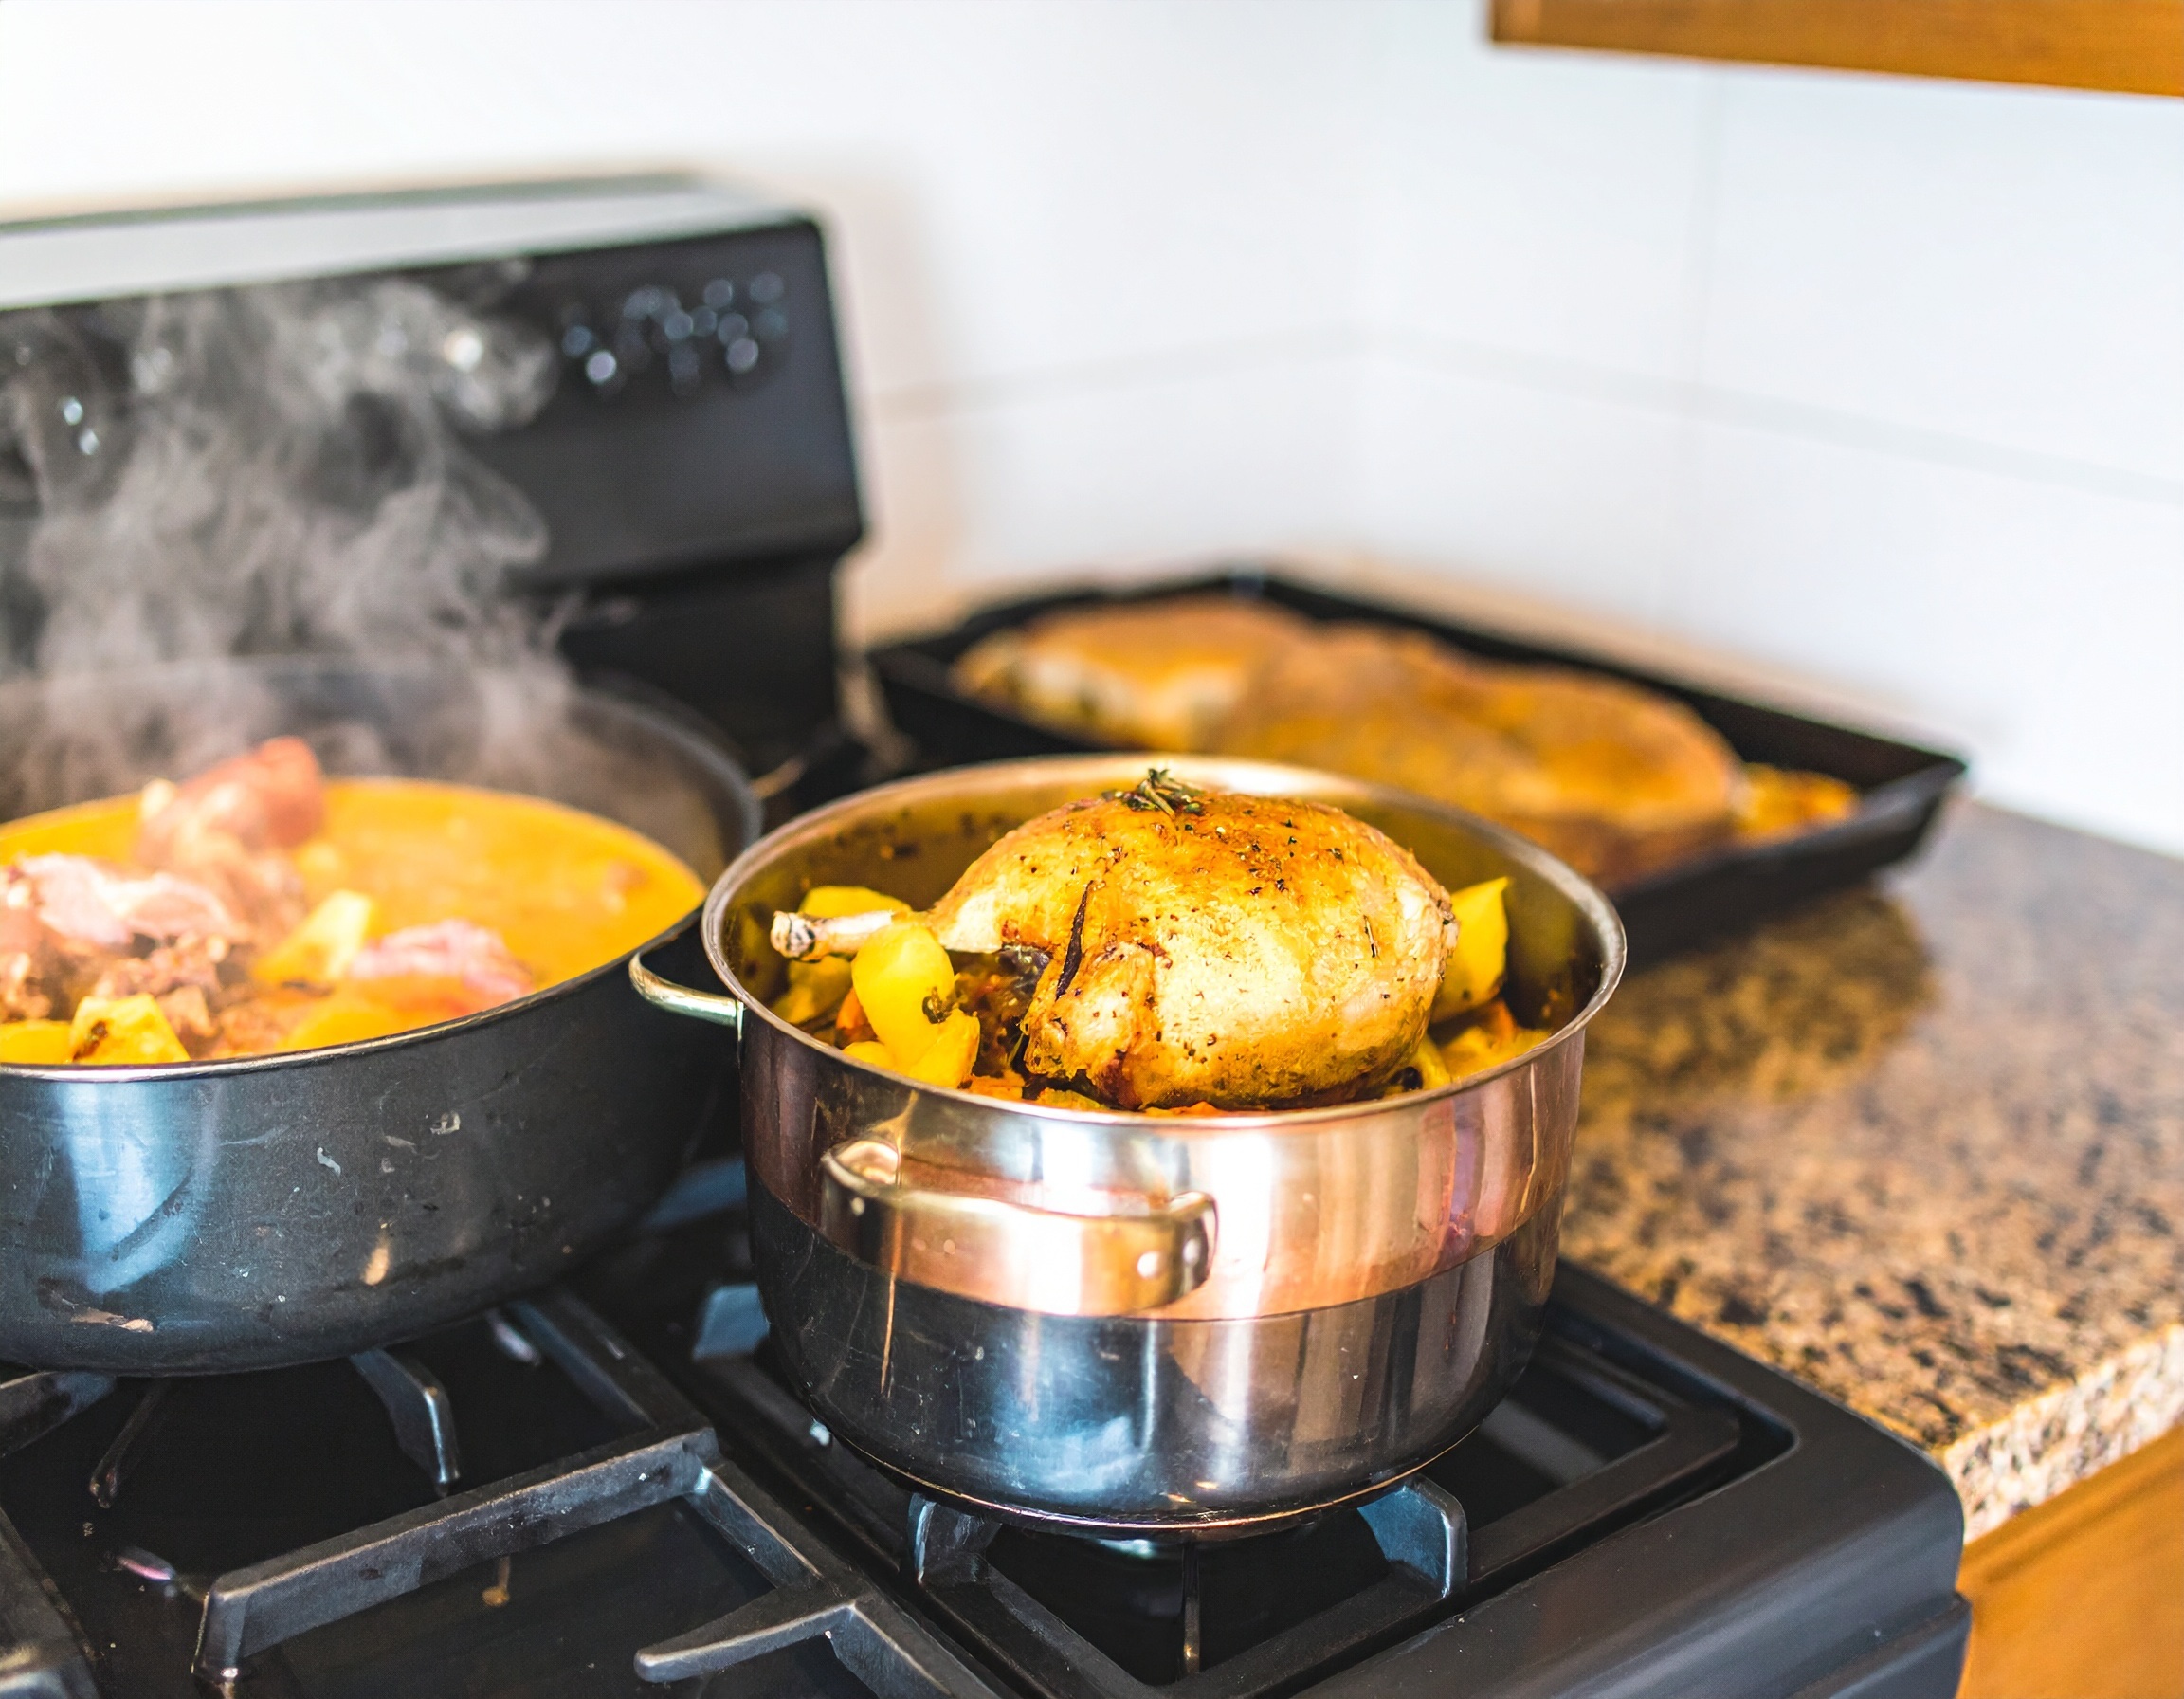
| Roasting | Dry‑heat cooking of foods exposed to hot circulating air (often uncovered) | Dry (low humidity) | 350–475°F (175–245°C) | Maillard browning, surface crisping, internal even cook |
| Baking | Dry‑heat cooking of batters/doughs/custards where structure sets via starch gelatinization + protein coagulation | Dry (sometimes controlled steam) | 300–450°F (150–230°C) | Even rise, set crumb, controlled moisture retention |
2. The Science Drivers
Braising
- • Collagen breakdown: Long, gentle heat + moisture converts collagen to gelatin, creating succulence. Optimal internal temps often hover 195–205°F (90–96°C) for tough beef/pork cuts.
- • Flavor concentration: Reduction of braising liquid yields a glossy, emulsified sauce (gelatin helps body).
- • Moisture moderation: Covered vessel retains humidity so muscle fibers don’t desiccate before connective tissue melts.
Roasting
- • Surface dehydration + Maillard reaction: Drier air + high radiant heat encourage flavorful browning. Crispy skin on poultry relies on evaporating surface water early.
- • Convection vs. conduction: Exterior heats quickly; internal gradient narrows with proper resting.
- • Fat rendering: Duck, chicken, pork shoulder release internal fat that bastes surfaces.
Baking
- • Leavening: CO₂ (yeast, baking soda/powder), steam, and sometimes trapped air expand within setting gluten/starch matrix.
- • Starch gelatinization (approx 150–180°F / 65–82°C) locks structure; protein coagulation sets crumb and crust.
- • Controlled moisture: Too much evaporation → dry, crumbly; too little → gummy center.
3. Heat Transfer & Environment
| Factor | Braising | Roasting | Baking |
|---|
| Primary Transfer | Conduction via liquid + pot, some convection | Convection of hot air + radiant oven walls | Convection + radiant; interior steam crucial |
| Humidity | High (covered) | Low (unless adding a water pan) | Low to moderate (steam optional for bread crust) |
| Evaporation Role | Limited; retains juices | Essential for crisping | Controlled for lift + crumb |
Steam in bread baking early in the cycle delays crust setting, allowing maximum oven spring and glossy crust.
4. Foods Best Suited to Each Method
- • Braising: Chuck roast, short ribs, pork shoulder (Boston butt), lamb shanks, beef cheeks, oxtail, tough greens (collards), beans, cabbage, fennel, leeks.
- • Roasting: Whole chickens, prime rib, root vegetables, cauliflower, salmon sides, pork loin, seasonal squash, mushrooms (for concentrated umami), nuts.
- • Baking: Breads, cakes, cookies, pastries, muffins, custards, quiches, casseroles, soufflés.
Edge cases:
- • _Roasted vegetables vs. braised vegetables_: Roasting concentrates sugars; braising mellows fibrous textures.
- • _Pot roast vs. oven roast_: Pot roast is _braised_ despite being in the oven.
5. Workflow Blueprints
Braising (Classic Meat)
- 1. Trim + Season (salt ahead to begin diffusion).
- 2. Sear in fat: Develop fond; don’t overcrowd.
- 3. Aromatics sweat (onion, celery, carrot) to build base; add tomato paste for umami, brown slightly.
- 4. Deglaze (wine, stock) scraping fond.
- 5. Add liquid to come 1/3–1/2 up side of meat (not fully submerged).
- 6. Add herbs & cover (tight lid or foil).
- 7. Low, slow cook until probe slides in with little resistance (2–4+ hrs).
- 8. Rest & reduce sauce uncovered if needed; skim fat.
- 9. Finish with acid (sherry vinegar), fresh herbs, optional gloss (cold butter swirl).
Roasting (Whole Chicken)
- 1. Pat dry thoroughly; optionally dry‑brine 12–24 h uncovered in fridge.
- 2. Truss (optional) for even shape; preheat oven hot (e.g., 450°F start).
- 3. Season cavity + surface; add aromatics inside (garlic, lemon).
- 4. Start high heat to brown, then reduce (e.g., 450→375°F) to finish gently.
- 5. Monitor breast vs. thigh temps (remove at 155–160°F breast; carryover to 165°F).
- 6. Rest 15 minutes; carve.
- 7. Make pan sauce (deglaze with stock + wine; reduce).
Baking (Yeasted Loaf)
- 1. Mix + autolyse (hydrates flour).
- 2. Develop gluten (knead or fold).
- 3. Bulk ferment to ~double (watch dough, not clock).
- 4. Shape; bench rest; final proof (finger dent springs back slowly).
- 5. Score; bake with initial steam (Dutch oven or water pan).
- 6. Bake until internal temp ~200–208°F and crust deeply browned.
- 7. Cool fully before slicing (crumb sets).
6. Equipment Considerations
| Equipment | Braising | Roasting | Baking |
|---|
| Dutch Oven / Heavy Pot | Ideal (even heat, tight lid) | Sometimes (for high-heat sear then uncovered finish) | Great for artisan bread steam |
| Sheet Pan + Rack | Not used (unless finishing uncovered) | Essential for airflow (roasts, vegetables) | Cookies, pastries |
| Cast Iron Skillet | Sear + braise transfer | Pan‑roasting meats, vegetables | Rustic breads, cobblers |
| Enamel/Roasting Pan | Less ideal for sealed braise | Standard | Casseroles |
| Thermometer (Probe/Instant) | Check tenderness internal temp | Doneness control | Bread / custard temps |
A tight-fitting lid in braising prevents excessive evaporation; foil over a gap can compensate. For roasting, elevating meat on a rack ensures convection and prevents stew effect.
7. Key Doneness Indicators
| Food | Braising Indicator | Roasting Indicator | Baking Indicator |
|---|
| Chuck Roast | Fork slides in; internal 195°F+ | (Not typical) | N/A |
| Whole Chicken | (Braising rare) | Breast 160°F pull; juices mostly clear | N/A |
| Root Veg | Tender but intact | Browned edges; interior soft | (Baked in gratins) Bubbly + set |
| Bread | N/A | N/A | Hollow sound when tapped; 200–208°F center |
| Custard | N/A | N/A | 170–175°F center; jiggle in middle |
8. Common Mistakes & Fixes
| Mistake | Method | Result | Fix |
|---|
| Too much liquid | Braise | Diluted flavor | Reduce uncovered; add umami (miso) + acid |
| Boiling vigorously | Braise | Tough meat, greasy | Lower heat; maintain gentle simmer (one bubble every second) |
| Pale skin | Roast | Flabby texture | Dry surface; start hotter; use convection |
| Overcooked dry roast | Roast | Stringy | Pull earlier + rest; use thermometer + reverse sear |
| Dense bread | Bake | Poor oven spring | Underproofed or low steam; increase fermentation control |
| Soggy bottom crust | Bake | Gummy texture | Preheat stone/steel; bake longer last 5–10 minutes |
9. Comparative Flavor Development
- • Braising relies on integration and _melding_: aromatics, wine, stock unify into one cohesive flavor. Gelatin creates luxurious mouthfeel (coating persistence).
- • Roasting emphasizes _contrast_: caramelized exterior vs. juicy interior; concentrated sugars in vegetables (onions, carrots).
- • Baking yields _structured aromatics_: Maillard on crust + volatile compounds (butter, vanilla) captured in crumb.
For caramelization vs. Maillard: vegetables high in sugar (carrots, onions) caramelize; proteins plus sugars (meat) primarily undergo Maillard.
10. Timing & Temperature Strategies
| Goal | Strategy |
|---|
| Faster braise without toughness | Cut meat into larger uniform chunks; pressure cooker (shortens collagen time while preserving moisture); finish uncovered to reduce |
| Juicier roast | Reverse sear: low temp roast (250–275°F) to near target, rest, then high‑heat finish to brown |
| Even baking | Preheat thoroughly (stone/steel stabilizes heat); avoid opening door early |
| Crisp roast vegetables | High heat (425–450°F), wide pan, avoid overcrowding, preheat sheet tray, toss in enough oil to lightly coat |
Reverse Sear Mini Flow
- 1. Season beef roast.
- 2. Roast low (250°F) until 10–15°F below target.
- 3. Rest 15–20 minutes (carryover minimal at low heat).
- 4. Blast at 500°F or sear in skillet for crust.
11. Selecting the Right Method (Decision Tree)
- 1. Is the cut tough with visible connective tissue? → Braise.
- 2. Is the goal crisp exterior + moist interior without added liquid? → Roast.
- 3. Does structure need to be _created_ from batter or dough? → Bake.
- 4. Is moisture retention more important than crust? → Braise or covered bake (casserole).
- 5. Need deep sauce integration? → Braise.
- 6. Need caramelized edges & concentrated sweetness (veg)? → Roast.
12. Flavor Layering Tips by Method
| Stage | Braise | Roast | Bake |
|---|
| Early | Sear/fond foundation | Dry surface; salt (dry‑brine) | Proper mixing order (cream butter/sugar) |
| Mid | Aromatics + deglaze + liquid | Aromatic fat basting (herb butter) | Fold inclusions (nuts, chips) |
| Finish | Reduce; acid; fresh herbs | Rest; pan sauce; flaky salt | Glaze; syrup brush; finishing salt |
13. Health & Efficiency Considerations
- • Braising allows using leaner added fat while extracting and separating rendered fat for skimming.
- • Roasting can minimize added fat if using racks to drain.
- • Baking batch production (sheet cookies, multiple loaves) leverages oven real estate—stagger by required temperatures.
- • Energy savings: Use residual oven heat to toast nuts/breadcrumbs after main bake (turn oven off last 5 minutes with pan inside).
14. Practical Example Trio
A. Braised Short Ribs (Outline)
- • Sear floured ribs until mahogany.
- • Sweat mirepoix + tomato paste until browned.
- • Deglaze with red wine; reduce by half.
- • Add beef stock + thyme + bay; liquid halfway up ribs.
- • Cover, 300°F ~3 hours until probe tender.
- • Remove ribs; reduce strained liquid; mount with cold butter; return ribs to glaze.
B. Roasted Root Vegetables
- • Preheat sheet at 425°F.
- • Toss parsnips, carrots, beets in oil, salt, thyme.
- • Spread single layer; roast 25–35 min turning once (deep edges).
- • Finish: splash sherry vinegar + honey + chopped parsley.
C. Baked Focaccia
- • High hydration dough cold ferments overnight.
- • Pan proof in oiled tray; dimple; drizzle olive oil + brine solution.
- • Bake 450°F until golden and edges crisp; cool on rack for airy crumb retention.
15. Troubleshooting Scenarios (Detailed)
| Scenario | Likely Cause | Targeted Adjustment |
|---|
| Braised meat shreddy outside, tough core | Heat too high; exterior overcooked before collagen conversion | Lower oven to 275°F; lengthen time; ensure half‑submerged |
| Watery braise sauce | Lid sealed too tightly; insufficient reduction | Uncover last 30–40 min; reduce separately; add gelatin (from reserved bones) |
| Roast chicken rubbery skin underside | Roasted directly on pan; trapped steam | Elevate on rack; dry surface longer pre‑roast |
| Veg soggy, not browned | Overcrowding; steam accumulation | Larger pan or two pans; toss midway; higher heat |
| Cake domed + cracked | Oven too hot; pan overfilled; excessive gluten | Lower temp 25°F; level batter; avoid overmixing |
| Bread pale soft crust | Insufficient bake or steam entire bake | Vent steam second half; bake to deeper color |
16. Food Safety Notes
- • Braising often keeps foods in 140–160°F for extended times initially; quickly bring to a gentle simmer (not warm hold) to avoid prolonged danger zone.
- • Roasts: Always rest on clean surface; avoid juices contaminating ready‑to‑eat sides.
- • Baked custards with eggs: Pull at safe coagulation temp (≥170°F center) while avoiding curdling.
17. Sustainability & Waste Reduction
- • Braise tough, cheaper cuts—maximizing value and reducing demand for premium steaks.
- • Roast multiple vegetables simultaneously; repurpose leftovers into purees or grain bowls.
- • Bake extra bread → cube for croutons; dry low oven to prevent mold waste.
- • Use braising liquid (defatted) as soup base or to cook beans/rice (flavor layering).
18. Quick Reference Summary
| Need | Choose | Core Move | Watch Out For |
|---|
| Tenderize tough collagen | Braise | Low + moist + time | Boiling agitation |
| Crisp exterior / juicy interior | Roast | Dry surface + hot air | Overcooking center |
| Create structured crumb | Bake | Proper leaven + set | Under/over mixing |
| Sauce integration | Braise | Reduction + gelatin | Bland if unseasoned early |
| Caramelized veggies | Roast | High heat, space | Crowding |
| Batch pastries | Bake | Even heat, rotation | Opening door early |
19. 120‑Second Decision Recap
- 1. Identify cut or product (tough vs. tender vs. batter).
- 2. Desired texture (fork tender vs. crisp vs. airy crumb).
- 3. Pick method: braise / roast / bake.
- 4. Align environment (moist vs. dry; covered vs. uncovered).
- 5. Control temperature ramp (start high vs. steady low).
- 6. Monitor internal cues (probe tenderness, internal temp, spring back).
- 7. Finish intentionally (reduction, rest, glaze, steam venting).
20. Final Thoughts
While all three methods gather under the banner of “oven cooking,” their _intent_ differs: braising transforms structure, roasting concentrates and browns, baking constructs structure from fluid beginnings. Developing the instinct to select and execute the right one turns chaos into culinary precision. Start noticing moisture environment, vessel choice, and textural goal every time you consider turning the oven on—soon you’ll predict outcomes before they happen.
Action Prompt: This week, cook the _same_ vegetable three ways: braised fennel (with stock), roasted fennel (dry high heat), and baked fennel gratin (with béchamel). Taste side‑by‑side. You’ll never confuse the methods again.
Happy cooking!